Travel Tips
Travel Tuesday: Using Abbott BinaxNOW Ag Card Home Test with eMed Telehealth Services for Travel
I’m not sure if I have awful timing or amazing timing. Exhibit A: I started this Travel Tuesday column in February of 2020, just before travel halted — but it could be argued that this actually worked well since I could reflect on past travels while people were daydreaming about an eventual return to the world. Well, my latest example involves the fact that I slated this review of my Abbott BinaxNOW COVID test experience right as demand for such tests has exploded (thanks to the combination of a new, more spreadable variant and the holiday season). So, setting all of that aside, I still wanted to share a look at how the Abbott BinaxNOW Ag Card Home Test with eMed Telehealth Services process works, how it differs from the Abbott BinaxNOW Self Test you’d find at CVS, and how my wife and I were recently able to use these tests to travel internationally and return home safely.
Abbott BinaxNOW Ag Card Home Test with eMed Telehealth Services: What You Need to Know

What is the Abbott BinaxNOW Ag Card Home Test with eMed Telehealth Services?
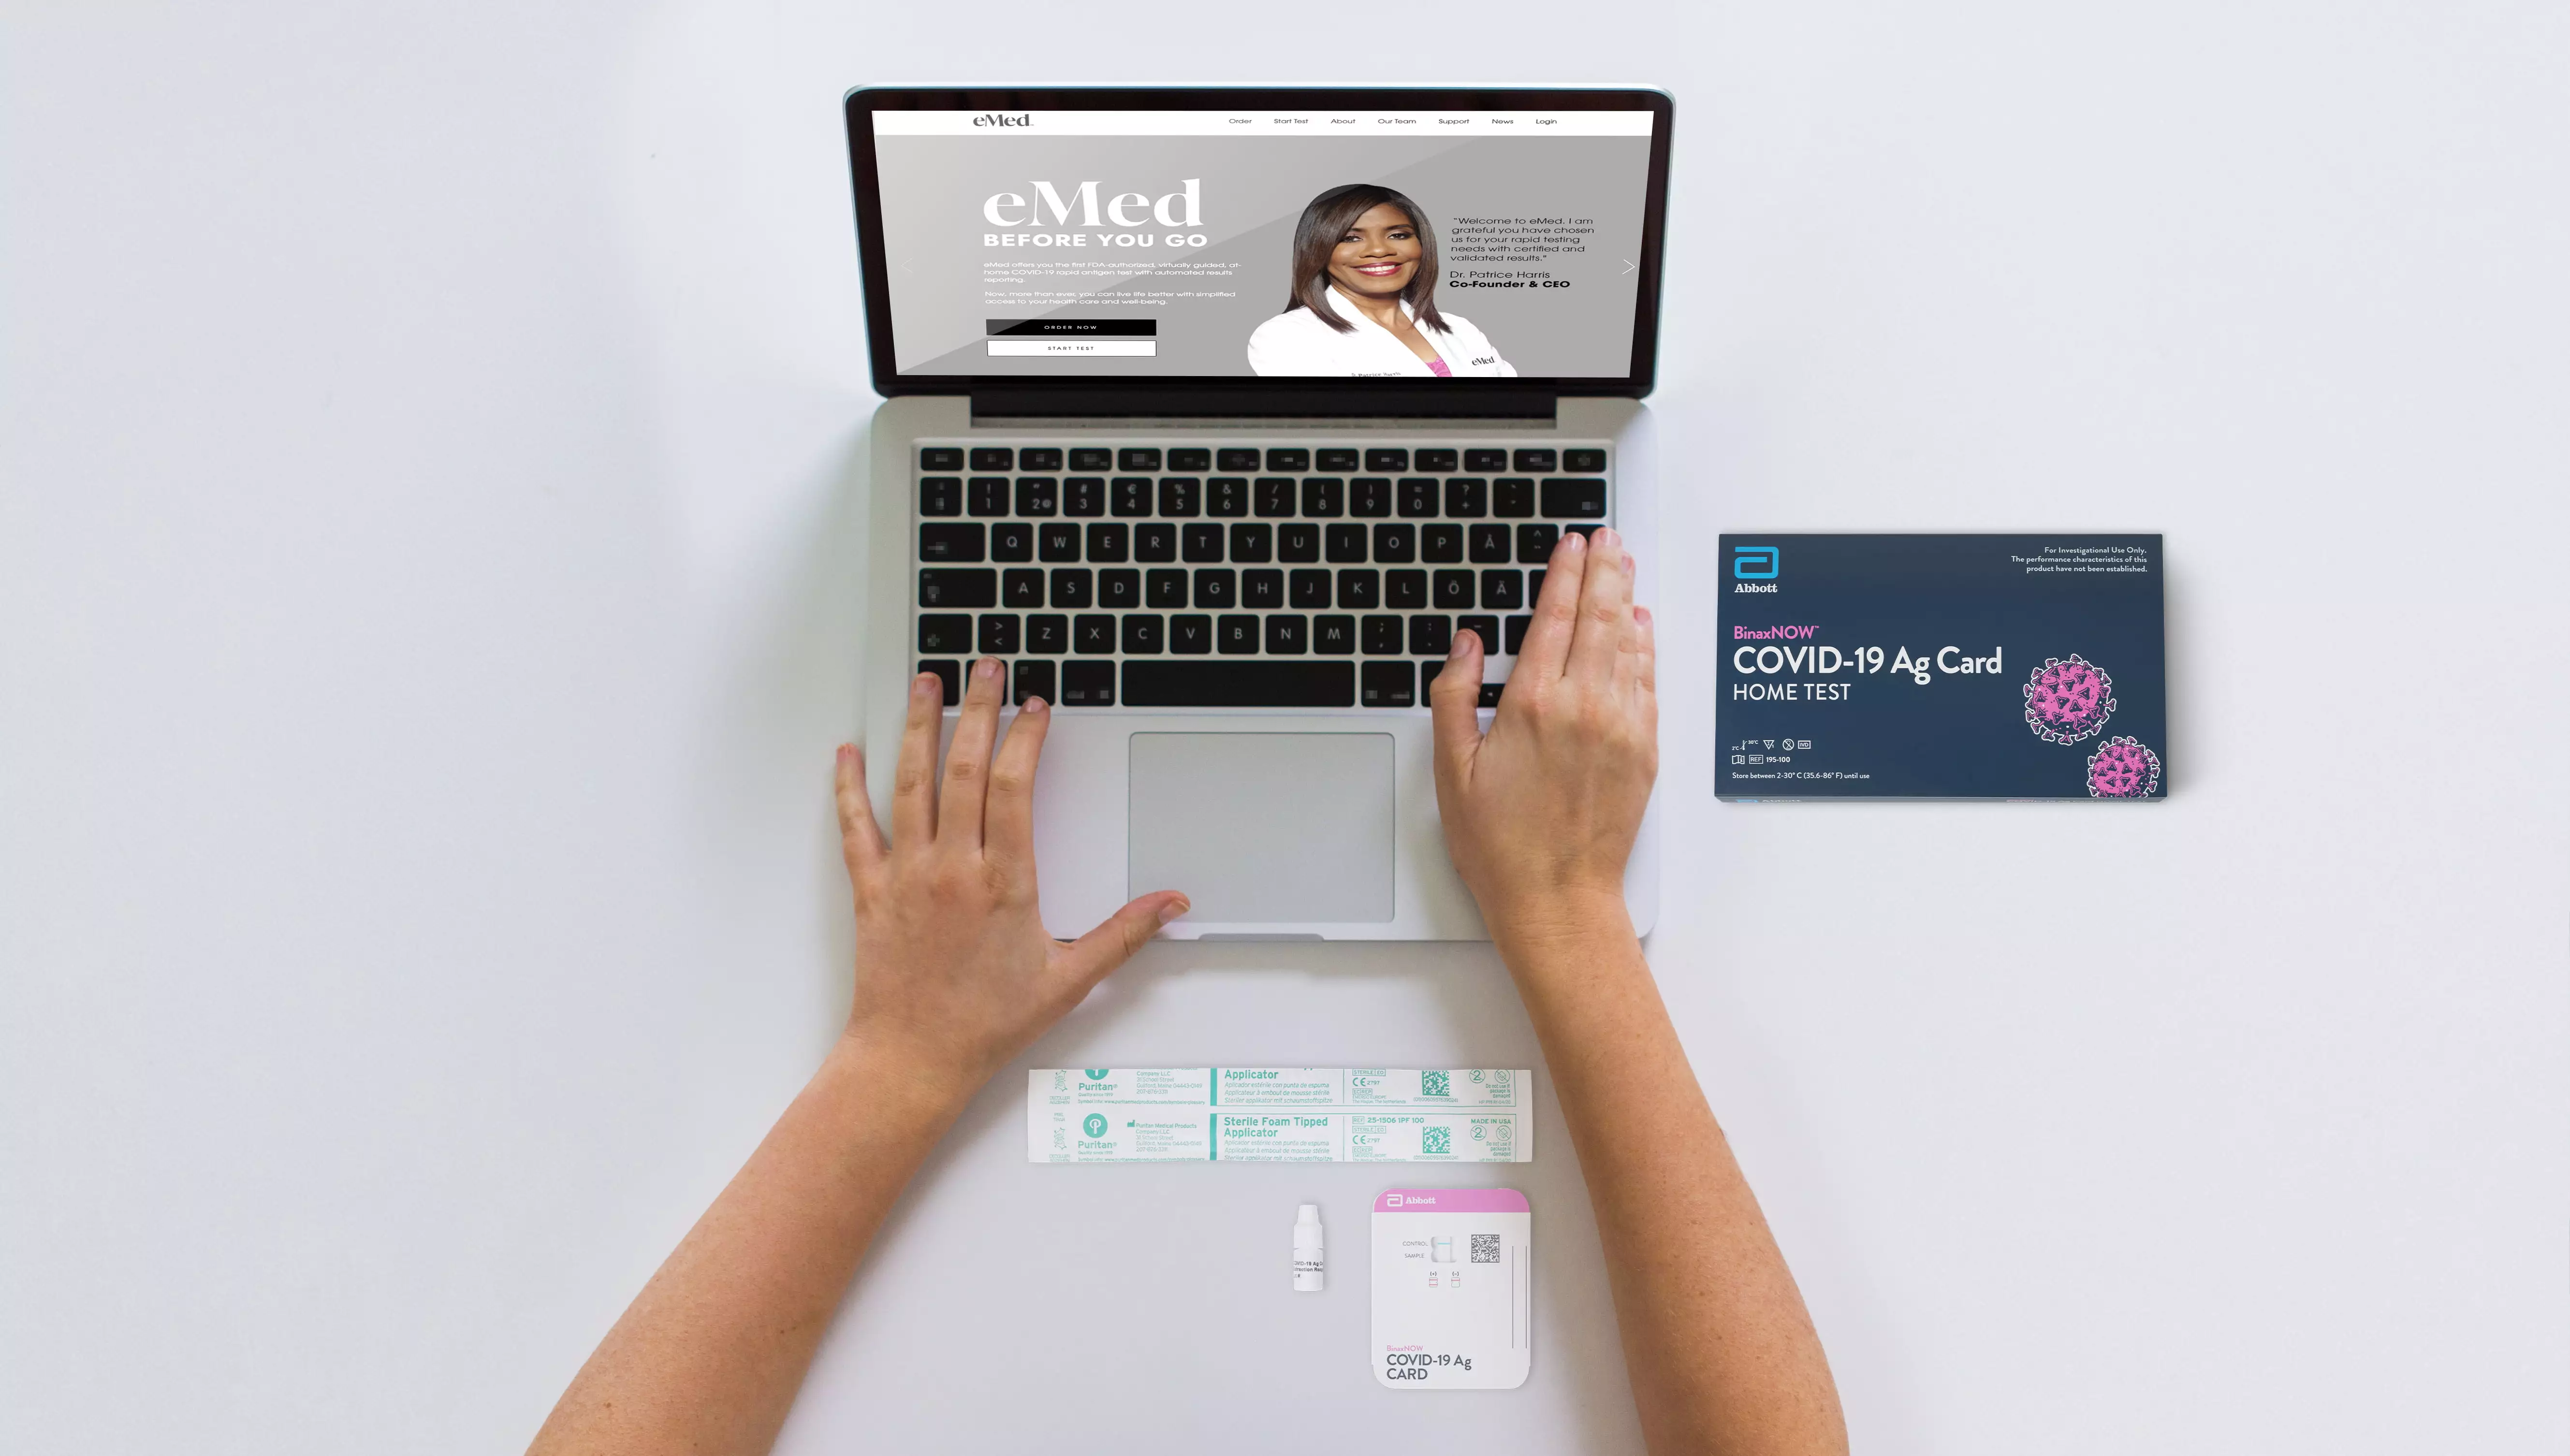
As the name implies, the BinaxNOW COVID-19 Ag Card Home Test with eMed Telehealth Services is a COVID-19 testing kit that you perform at home. However, instead of doing the test by yourself, you’ll be led through the process by a trained proctor who will also verify your results (that’s where the “eMed telehealth services” aspect comes in). You can imagine this process as the equivalent of Zooming with a doctor to walk you through the test — except that they are not doctors and, while they can see you, you won’t actually see them and will only hear their voice instead. Still, this added layer of confirmation and security is why these tests are approved for re-entry into the United States after traveling abroad. At the time that I’m writing this post, you’ll need to provide a negative test taken no more than one calendar day before your flight to the U.S.
How does it differ from other Abbott BinaxNOW tests?
If you’ve been to your local CVS or Walgreens, you may have seen BinaxNOW tests before. Yet, while they look incredibly similar, there’s a major difference between those BinaxNOW Self Tests and the BinaxNOW Home Test (with eMed Telehealth Services). The first difference is that you’ll notice those Self Tests tend to be cheaper, coming in at around $25 a pop (from what I’ve seen). Of course, the bigger and more important difference is that those tests are not approved for travel since there’s no verification element in place. Meanwhile, the Abbott BinaxNOW Ag Card Home Test with eMed Telehealth Services includes a session with a trained proctor who will verify your results.
Are Abbott BinaxNOW Ag Card Home Tests always accurate?
Rapid antigen tests are a great tool for detecting the presence of the COVID-19 virus and, thus, helping limit the spread. However, they are far from infallible. Because of this, it is possible that you may receive a false positive (the test saying you have COVID when you don’t) or false negative (the test saying you don’t have the virus when you actually do). There are several factors that could further affect these results, but I’m not going to pretend that I’m an expert in what those are. With that said, these tests are approved by the FDA, suggesting that the agency does believe that the rate of accurate results is high enough to make them effective.
Our Experience with the Abbott BinaxNOW Ag Card Home Test with eMed Telehealth Services

A brief rundown of our travel situation
Just to give you some background, the reason we needed to purchase the Abbott BinaxNOW Ag Card Home Test with eMed Telehealth Services was for a trip to France in December 2021. Not too long before our trip, France updated its travel guidelines, requiring negative tests for travelers from the United States regardless of vaccination status. At the same time, the U.S. itself updated guidelines for return travelers, shortening the window in which vaccinated citizens would need to test negative.
Before traveling, I wasn’t 100% sure that these particular tests would be accepted by France, although they did note that antigen tests did qualify. On the U.S. site, I’d seen that these tests were specifically approved for re-entry. So, with backup plans in place just in case, we decided to give these home tests a shot.
Purchasing our tests
As I noted, these special editions of the test aren’t stocked in many stores, making online outlets your best bet. Originally, I intended to purchase a six-pack of tests directly from eMed on their website. This option costs $150. While I was able to enter all of my information and confirm that I was eligible to purchase the tests, once I entered all of my credit card information and shipping info, I got an error saying that my transaction could not be completed. After trying again and getting the same result, I decided to look elsewhere.
Where I landed was a site called Optum. Instead of a six-pack of tests like eMed, Optum sold the tests in a two-pack for $70 (they also seem to have a single test for $50 or three-pack for $100 at the time I’m writing this). Since my wife and I would each need a test to leave the country and to return, I ordered two two-packs, which included free delivery.
I should mention that we placed our order on a Monday and the tests arrived on Wednesday. However, due to that increased demand I mentioned in my intro, the site now notes that it could take up to three business days to be delivered. In other words, you’ll need to plan ahead.
To quickly review, while the eMed option would have been cheaper on a per-test basis, we did technically save $10 by going with Optum. That said, I’ll tell you that we were a bit nervous about not having a back-up test like we would have if we’d been able to purchase the six-pack. On the other hand, I’m not sure what we would have done with the extra tests if they weren’t needed and I wouldn’t want them to go to waste. In the end, our plan worked out perfectly but I felt it was important to point out the slight anxiety we had regarding this dilemma.
Creating a NAVICA account
For as straightforward as the testing process is for the BinaxNOW Home Test, I have to admit that there’s a bit of confusion about all of the different companies and names involved. First, you have Abbott, who makes the test. Then there’s eMed, which provides the telehealth services. Meanwhile, I purchased the tests on the Optum site. And yet there’s another important name to know: NAVICA.
From my understanding, NAVICA is a platform owned by Abbott. But, what you really need to know is that you’ll need to create a NAVICA account before you take your test. This can be done on their site or via their mobile app. As you might expect, you’ll need to provide some basic info as part of the account creation process, including your name, birthdate, address, and so on.
I’d recommend keeping track of your NAVICA password as you’ll need it again, both when taking the test and afterward when showing your results. Also, if you’re taking the test along with a loved one, they’ll need to create their own account as well (note: I’m not sure how this works for children or if they’re eligible). The good news is that, once your account is made, it will be pretty smooth sailing from there.
The testing process
First of all, when your tests arrive, do not open them! Since the entire point of these particular tests is to have confirmable proof of your test result, tampering with it before getting on the line with your proctor could void your result. Be aware that, in transit, the small, circular sticker that seals the tests could pop open, but I’d still refrain from opening it any further (you can just try to press the sticker down again).
To get started with your test, you’ll first want to visit emed.com and tap “Start testing.” When you do this, you’ll then need to select your state of residence and then log into your NAVICA account. You’ll also need to grant eMed permission to utilize your info from NAVICA. Next, you’ll need to complete a short questionnaire, essentially confirming that you’re ready to take the test and are eligible to do so.
Before you get connected to your proctor, the site will check your tech. This includes confirming that your mic is available, that your speakers are working, and that your internet connection is strong enough to handle a chat session. With that completed, you’re ready to connect with a proctor and begin the testing process itself.
Once logged on, your proctor will first ask you some questions to confirm your identity. You’ll also need to display a photo ID to further verify that you are who you say you are. After that, you’ll need to scan the QR code on the back of your test so that they can verify the expiration date. Then, they’ll need to see the test lying flat on a surface.
This is where my pro-tip comes in. While I’m sure you could complete this test process on a desktop computer, I think a laptop makes the whole thing much easier. Why? Well, during several parts of the test, your proctor will ask you to tilt your camera down to see the test. In my experience, this was fairly easy on our laptops as the webcam angles meant we could put the tests just in front of our laptops on the desk and tilt down as needed. I will say that the NAVICA app does seem to have some sort of sync function once you’re on a call, which makes me think this could be used as a supplemental camera if needed… but I didn’t try out this function.
Back to the test process itself, you’ll be asked to open your test on camera and confirm the contents. There’s also a QR code on the main test device itself that you’ll need to scan using your webcam. After that, you’ll follow the proctor’s instructions and place six drops of solution into the test kit.
Now comes the fun part. After opening your sealed swap, you’ll be instructed to stick it into each nostril, rotating it around your nostril at least five times each. This was actually my first COVID test and had been told about what to expect in terms of feeling. Sure enough, it is quite a strange sensation but is far from unbearable (unpleasant for sure though).
Following your brain tickle, you’ll be instructed to thread the swab in between two holes on the test kit. Then, you’ll rotate it a few times to make sure it’s covered in solution. Finally, you’ll seal up the kit and leave it flat on your table. At this point, your proctor will let you know that they’re starting a 15 minute timer and will play a short video with some info. By the way, at this point, you’re allowed to walk away from the test, but be sure it doesn’t get tampered with and that you return when the alert goes off.
The longest 15 minutes and getting your results
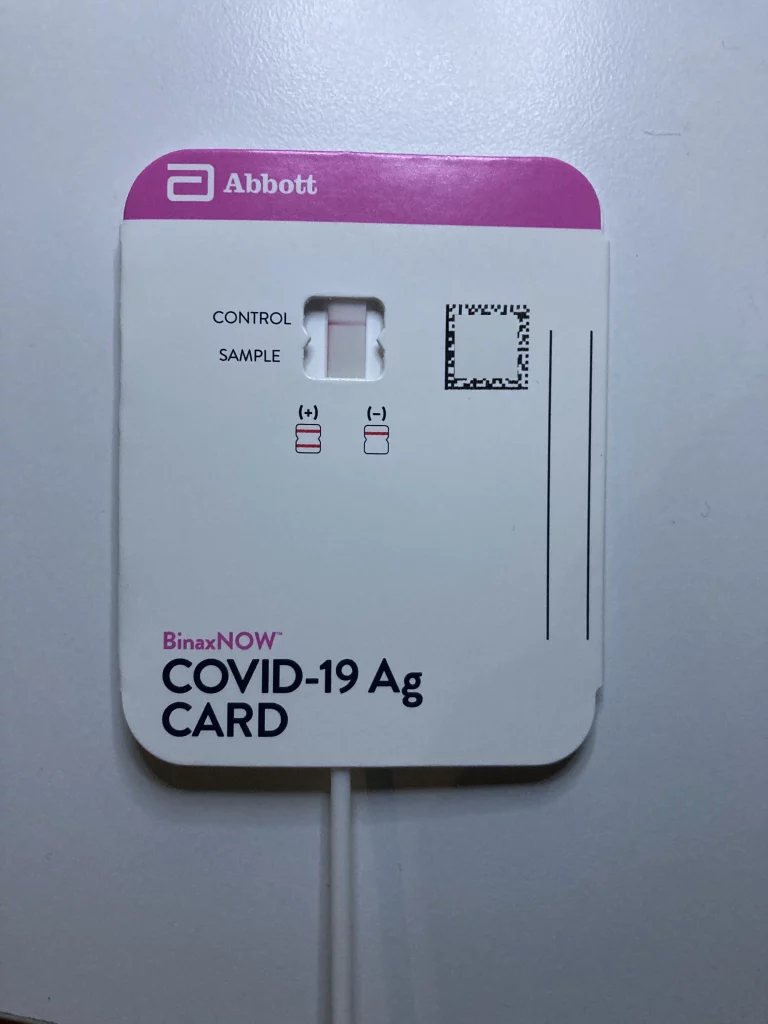
I’ve never taken a pregnancy test but I have to imagine that this is what it’s like waiting for the results. During the 15 minutes it takes for your test to fully develop, you’ll notice that the solution will reach the tab in the front of your test. Eventually, this will cause the blue “control” line to disappear and, later, for the pink lines that indicate your positive or negative result to display.
When your 15 minutes are up, a chime will let you know it’s time to continue your testing process. After clicking the button on the screen, you’ll be directed to another proctor. The first thing they’ll do is scan the QR code on your test again to confirm that no funny business happened while they were gone. They’ll also take a peek at your test and walk you through the possible outcomes. Now for the slightly tricky part: each time my wife and I tested, they’d ask, “Do you see the two pink horizontal lines?” The thing is, there should only be one pink horizontal line if you test negative — pretty sneaky, huh? In any case, while I was momentarily confused, I just stated, “I only see one line.” After confirming that the line was where it should be and that there wasn’t even a faint trance of another, I was very relieved to hear the words, “You have tested negative for COVID-19.” I’m sure they said other stuff after this, but I was too busy exhaling all of my anxiety from the past 15 minutes to hear them.
In any case, after you sign off with your proctor, your test result documents should arrive in your email a few minutes later. Additionally, you’ll be able to access them in the NAVICA app around the same time. At which point, CONGRATS — you made it!
Presenting your test results
There are a few different pieces of proof you’ll receive once completing your BinaxNOW Home Test. The first is a PDF that will be emailed to you (the document is also password protected, but the body of the email will give you instructions for unlocking it). This PDF contains your name, birth date, test info, test result, test date and time, etc. It also bears the signature from the company’s chief science officer and says “lab results” in the upper right. In addition to that, in your NAVICA app, you’ll find a QR accompanied by other data regarding your test and negative result.
Honestly, I’m not exactly sure which one of these options airlines, governments, and other entities prefer to see. Thus, I elected to save and print both just in case. Personally, I think this is probably the best plan but it’s really up to you.
I need to emphasize again that I’m sure the process of presenting your testing info will vary depending on the airline you are traveling on among other factors. Despite this, I figure I should still tell you how my experience went. After getting our results, I was able to upload screenshots of the PDF and the NAVICA app along with photos of my vaccination card and sworn declaration to the Air France site (they sent me a specific link to do so). Unfortunately, these documents weren’t reviewed before we arrived at the airport because of how early we arrived. In any case, upon checking in at the desk, we showed printed versions of these documents to the agent, who seemingly approved. Some time later, we got an alert that our documents had been reviewed and our boarding passes were updated to display the “Ready 2 Fly” label.
Upon arriving in France, we figured we’d need to show everything again. In reality, we simply handed over our passports like normal and got them stamped. The officer didn’t even look at my vax card, which I’d included in my passport. My takeaway from this is the government must just be deputizing the airlines to keep up with compliance and turn away passengers. Of course, I can’t verify this — but it would explain my experience.
Returning to the United States was a similar situation. Like the first time, we uploaded everything to the Air France site as soon as we had it. This time, though, we skipped the counter and headed to our gate. Sure enough, our “Ready 2 Fly” approval arrived a couple of hours before departure. Then, once we returned to the States, we used Global Entry to breeze through customs and immigration, with no one requesting to see any documents.
Final Thoughts on Using Abbott BinaxNOW Ag Card Home Test with eMed Telehealth Services for Travel
Overall, I was fairly impressed with the entire process of using the Abbott BinaxNOW Ag Card Home Test with eMed Telehealth Services in order to travel. Starting with my purchasing the tests on Optum, the package arrived within two days as promised, which was key since we were leaving for a domestic trip just ahead of our international jaunt. Elsewhere, signing up for a NAVICA account was simple and I’ve found the app easy to navigate. Finally, while the testing process itself is anxiety-inducing just by its nature, the tech employed to connect you with a proctor worked smoothly and each proctor we encountered was friendly and helpful.
For all of those reasons, if you’re looking for a testing solution for reentry into the United States, I’d definitely recommend this option. However, keep in mind that things can change quickly, so be sure to confirm that these tests are still supported for such purposes before purchasing (in addition to ensuring that your tests will be delivered in time). Similarly, while it seems these tests were accepted by France at the time of our travel, I’d also recommend doing your research to see if these types of rapid antigen tests are honored by whatever country you’re traveling to.

